On the hunt for a good quality tent suitable for family camping trips and group weekends away? The Vango Winslow 600 could be exactly what you’re looking for if our first outing under the canvas is anything to go by. Find out how we got on when we camped out for the first time as a family in the Swiss Alps.
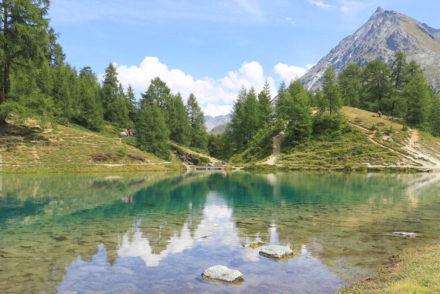
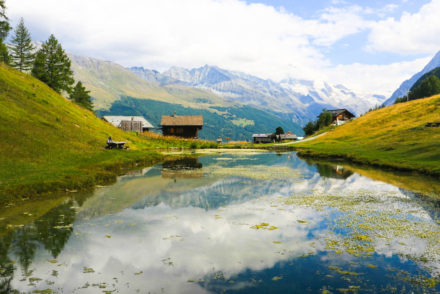
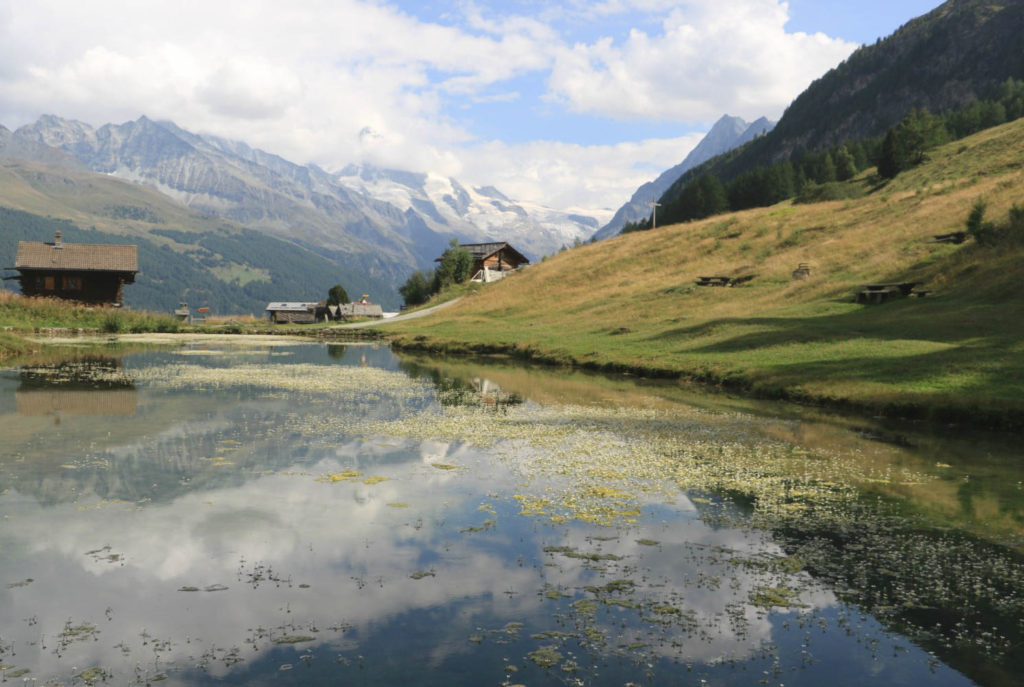
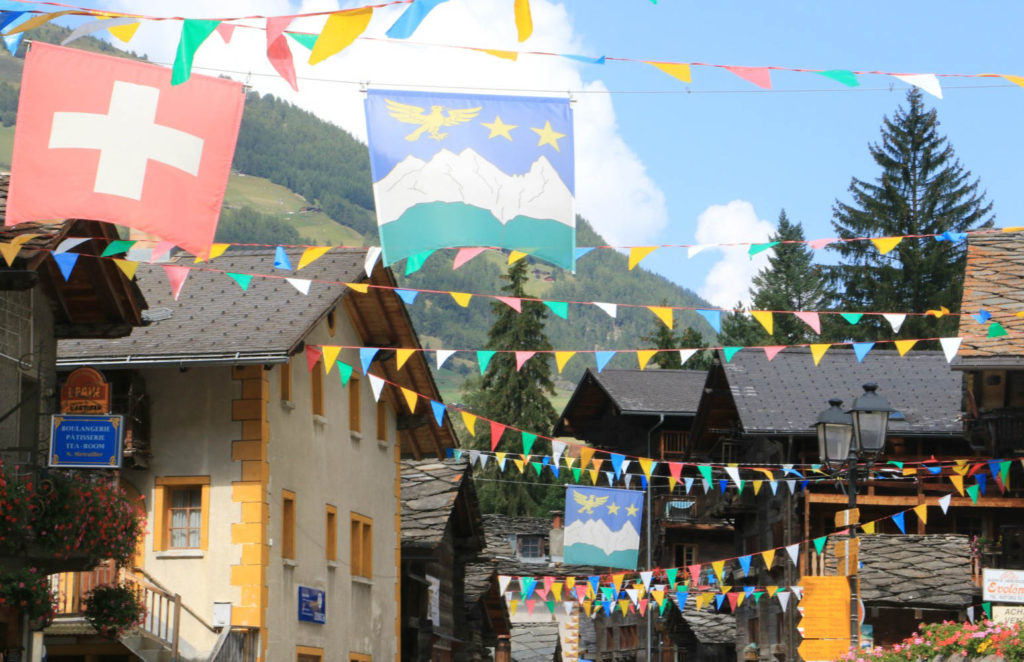
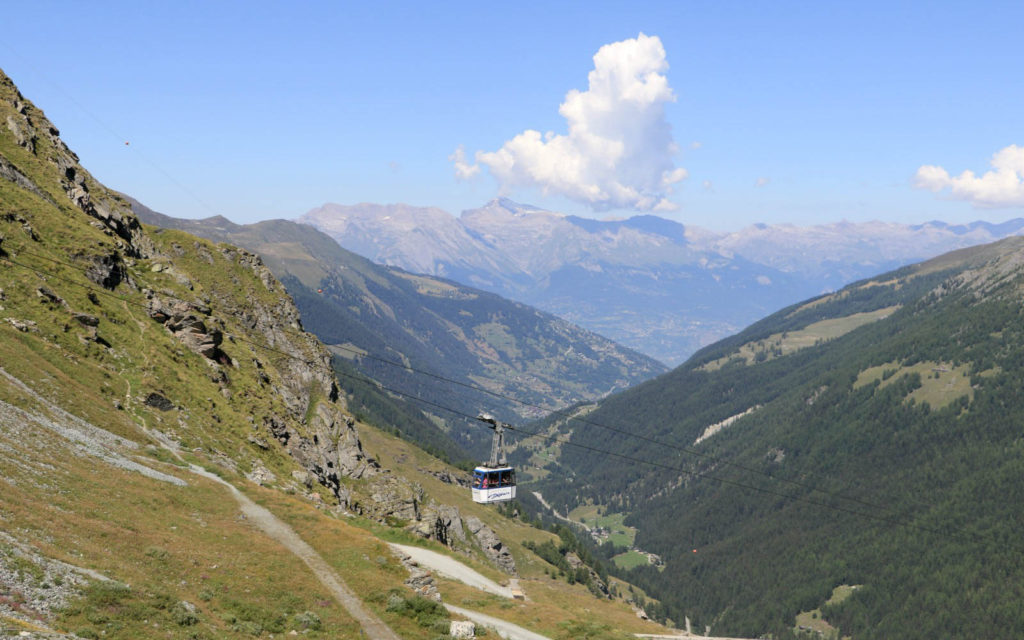
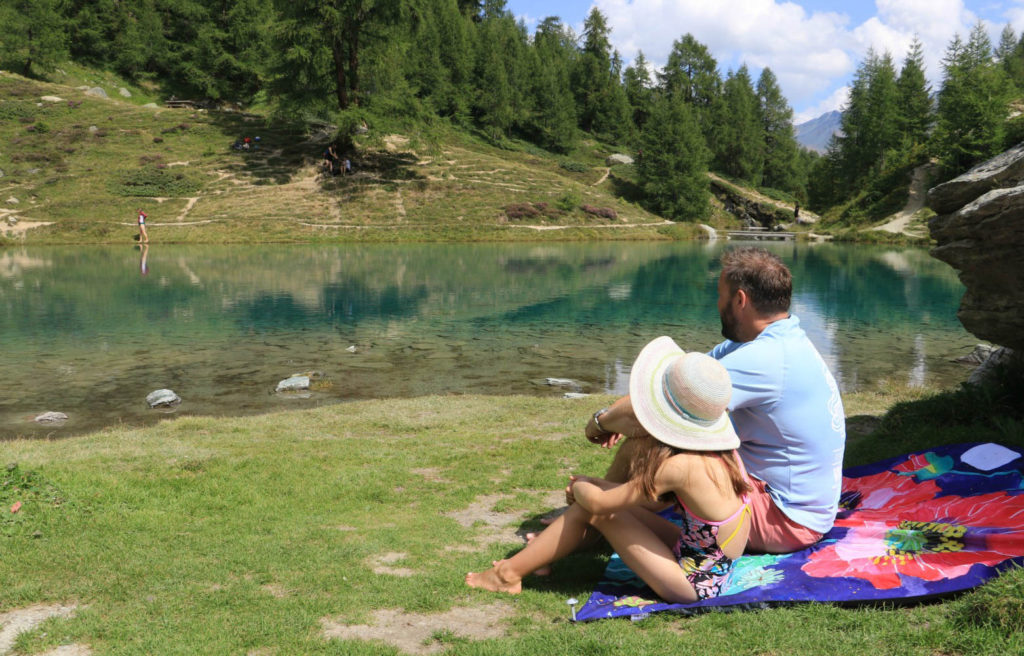
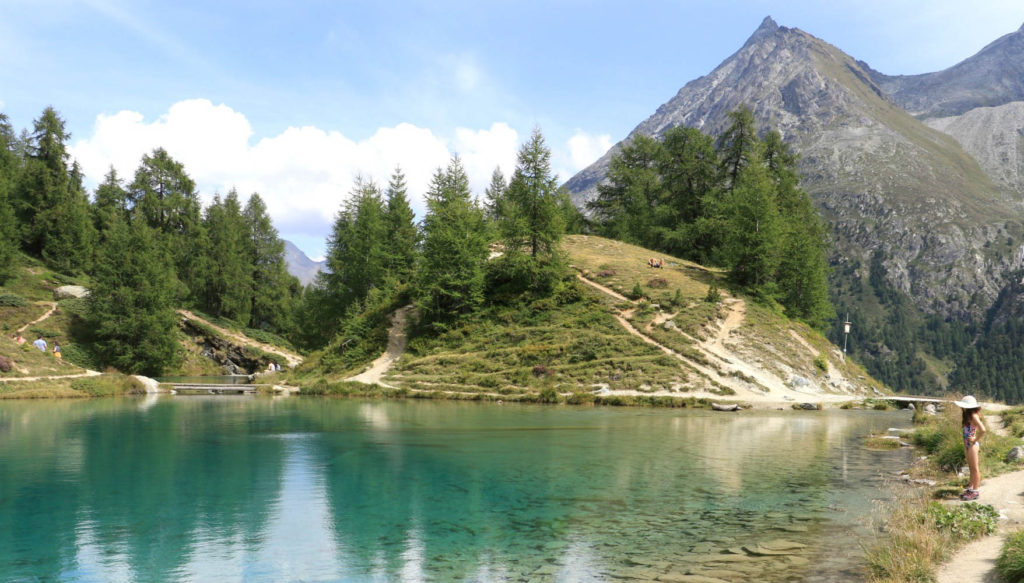
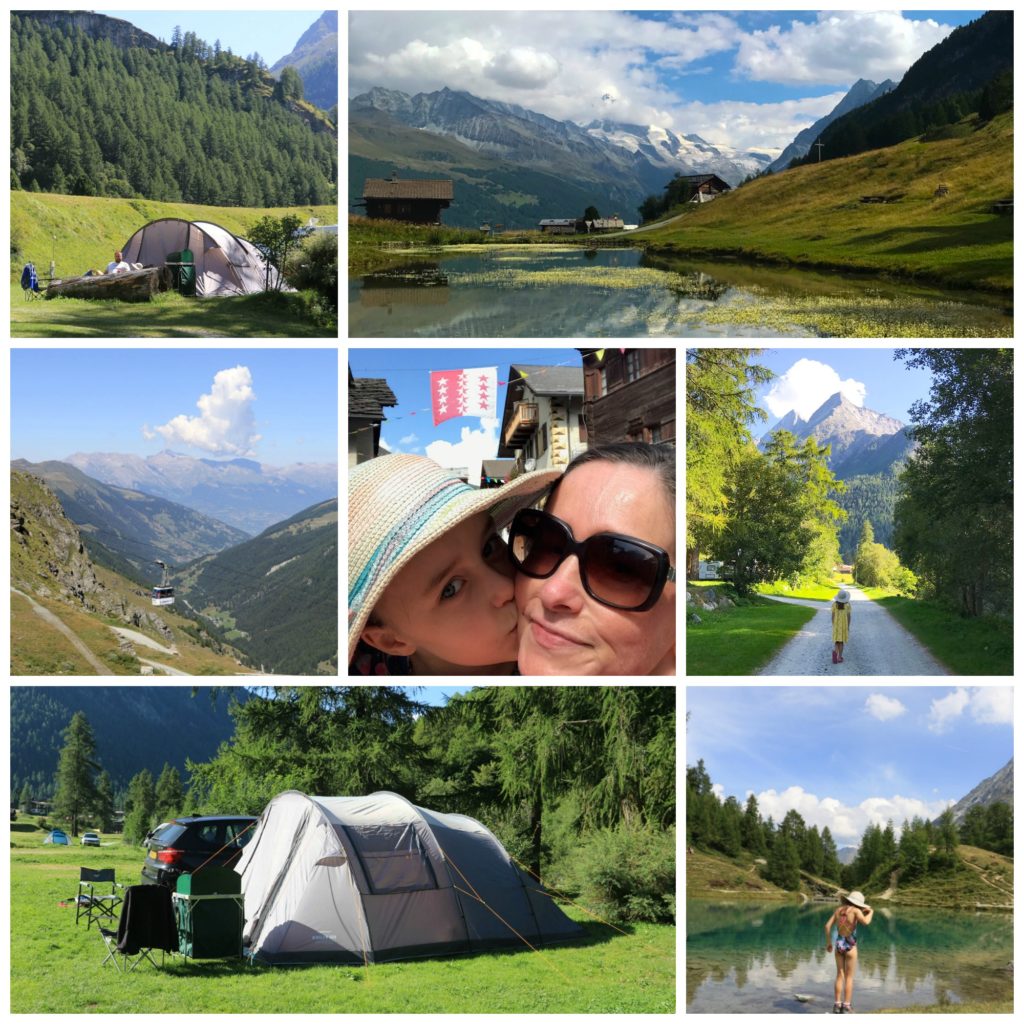
While JD and I both did a lot of camping when we were younger, it has largely passed us by in adulthood. We have slept in the Venezuelan jungle, glamped many times and we love the great outdoors but only recently embarked on our first “proper” family camping trip. Clearly we’re kicking ourselves now we didn’t do it sooner! The three of us had so much fun adapting to camp life Swiss-style, hiking in the mountains and taking in an array of spectacular views.
Introducing Vango
The Vango Experience Collection for first-time campers
We have a list as long as your arm of all the things we did and didn’t need during our camping trip. A good quality tent that’s easy to put up, spacious and comfortable is, of course, top of the list as having the wrong one could make or break a trip. The Vango Experience Collection is specifically designed for adventurous families like us who are first-time campers. There are several tents in this collection including the Winslow 400, 500 and 600 tunnel tents which sleep 4, 5 or 6 people.
The Winslow 600 tent
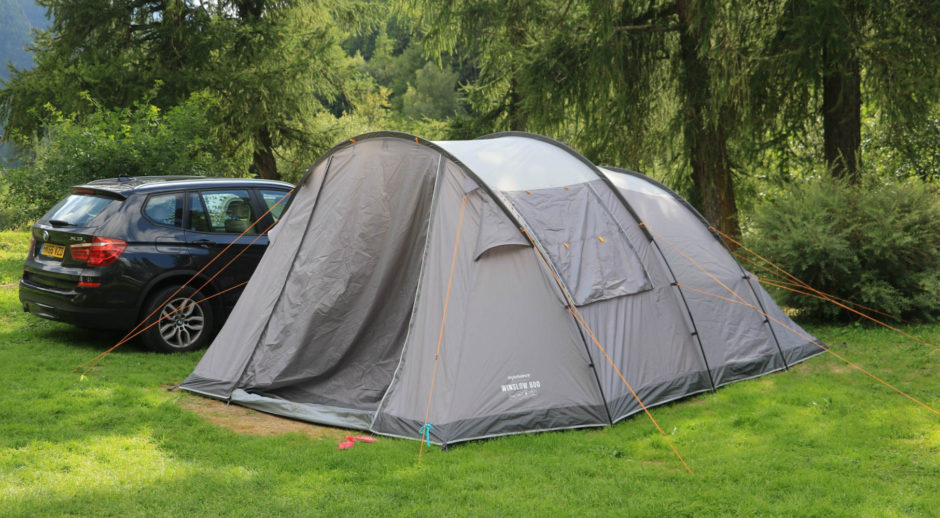
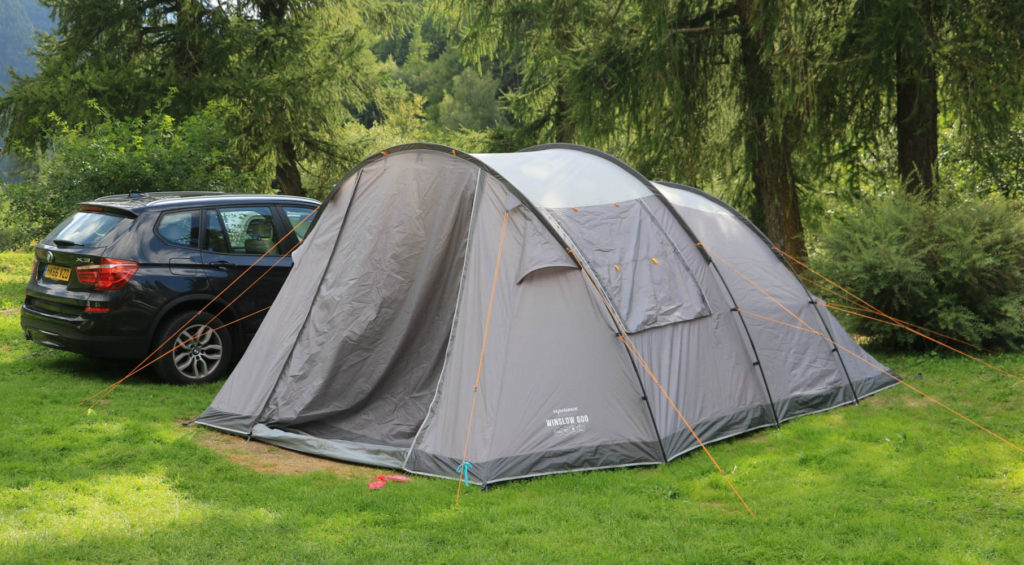
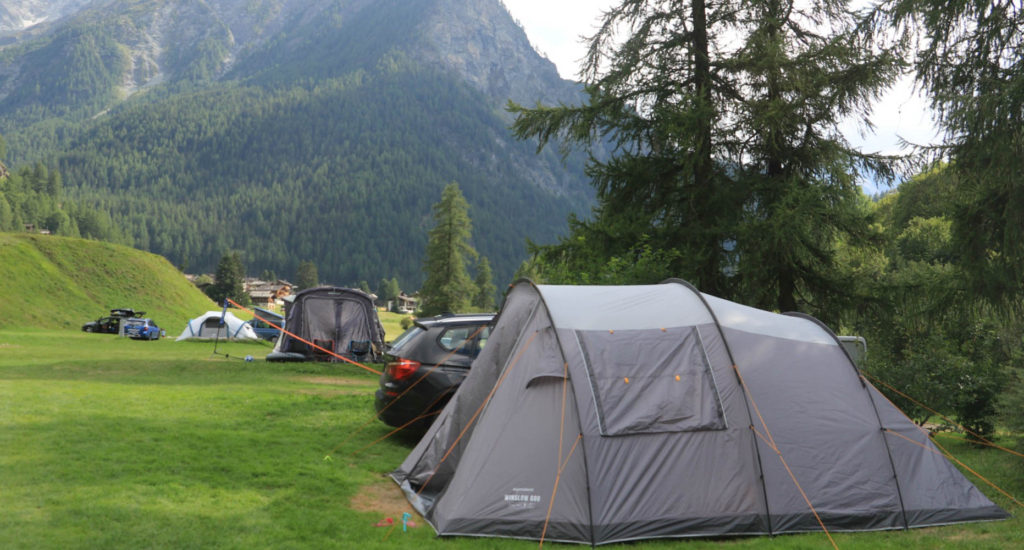
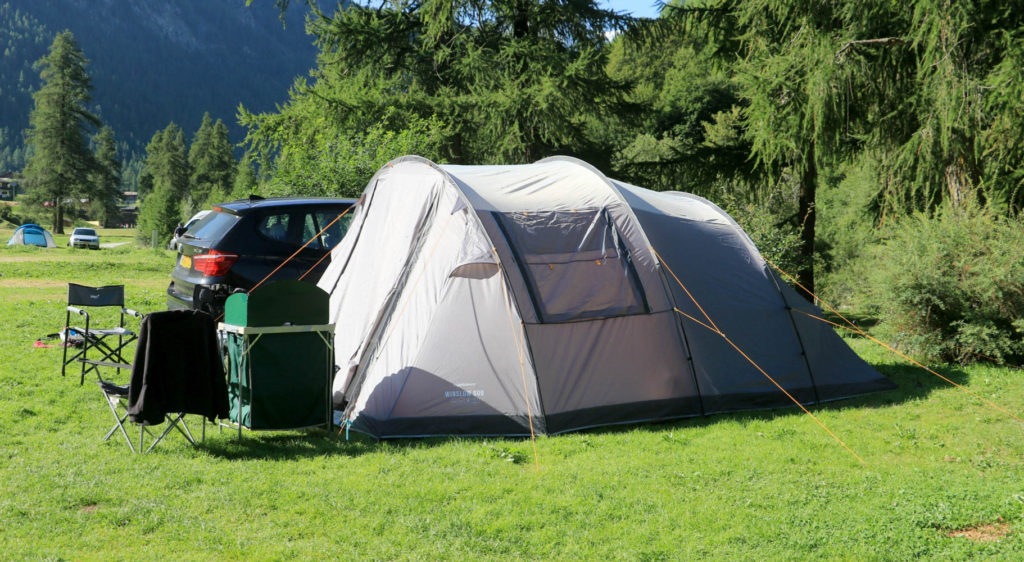
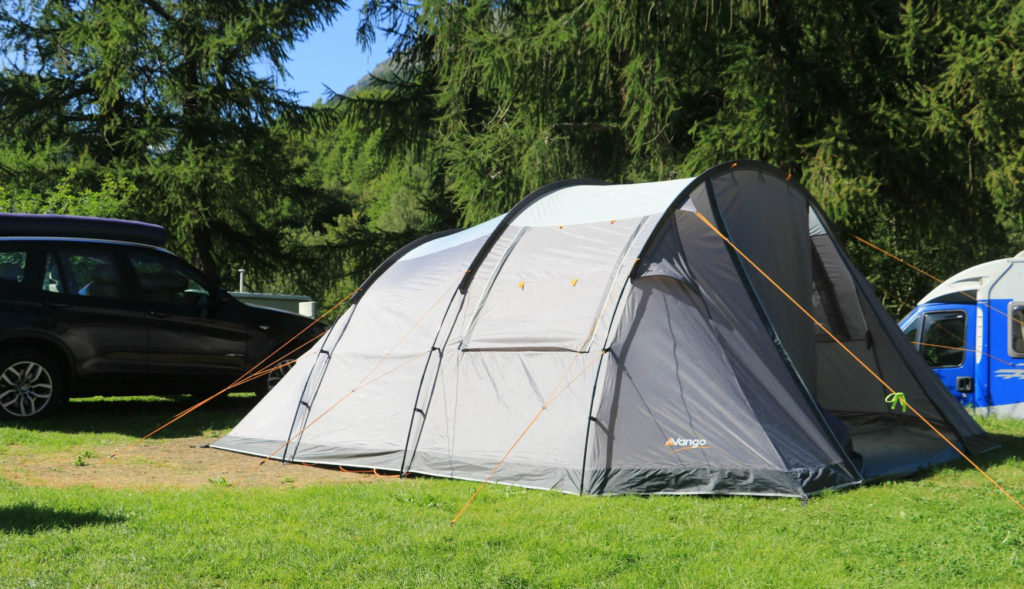
The Winslow 600 tent is ideal for families, and small groups, as it can sleep up to six. Made from Vango’s Sentinel Active fabric, it’s highly durable, fire retardant and waterproof to a 3,000mm HH (hydrostatic head) rating. If you’ve not camped before, this indicates rain resistance and the pressure of water required to penetrate a fabric. Simply put, we were well protected from the weather gods!
Living space
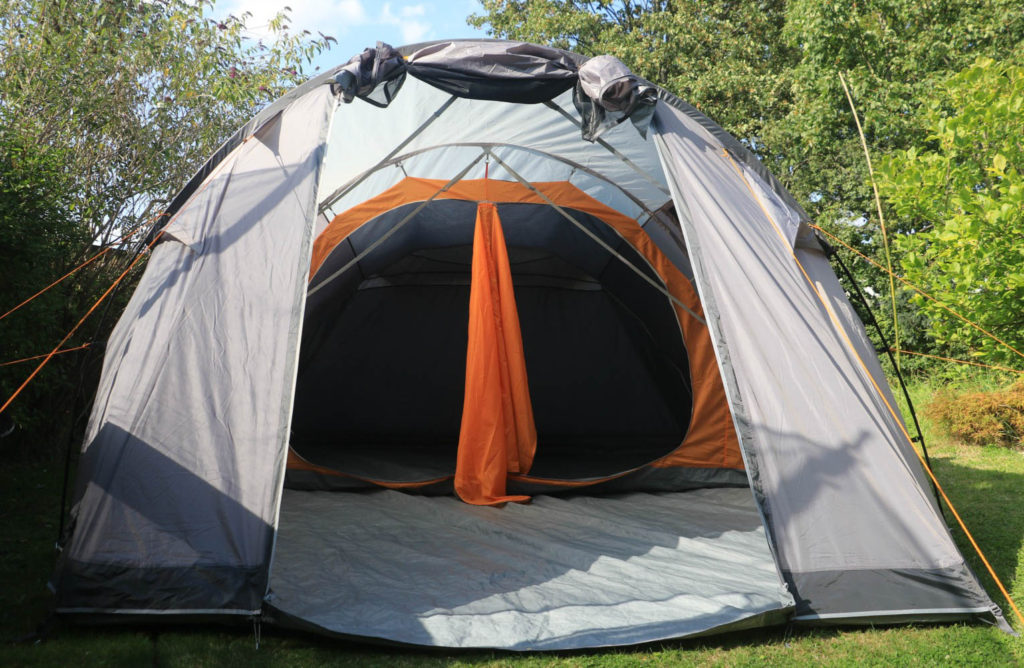
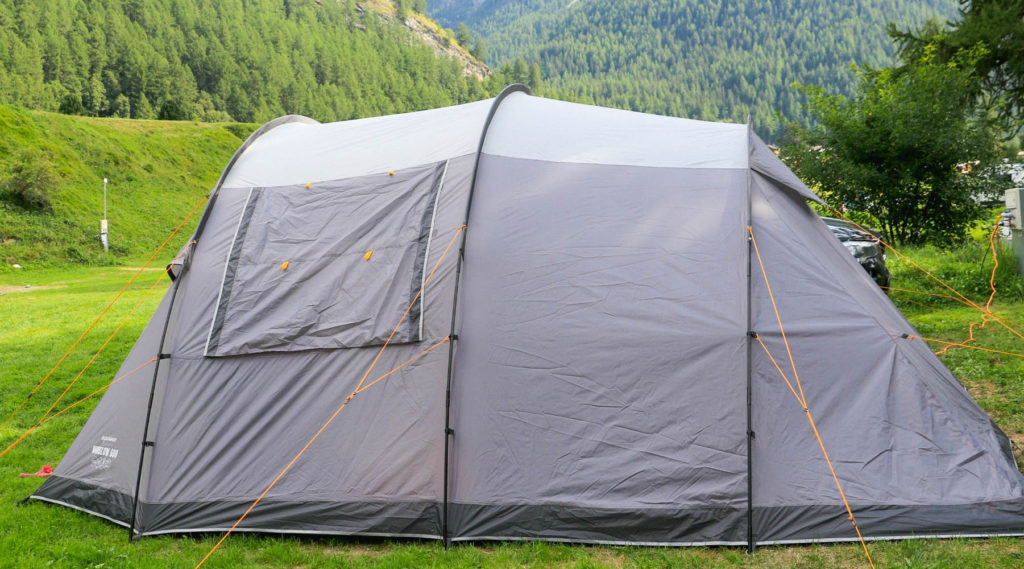
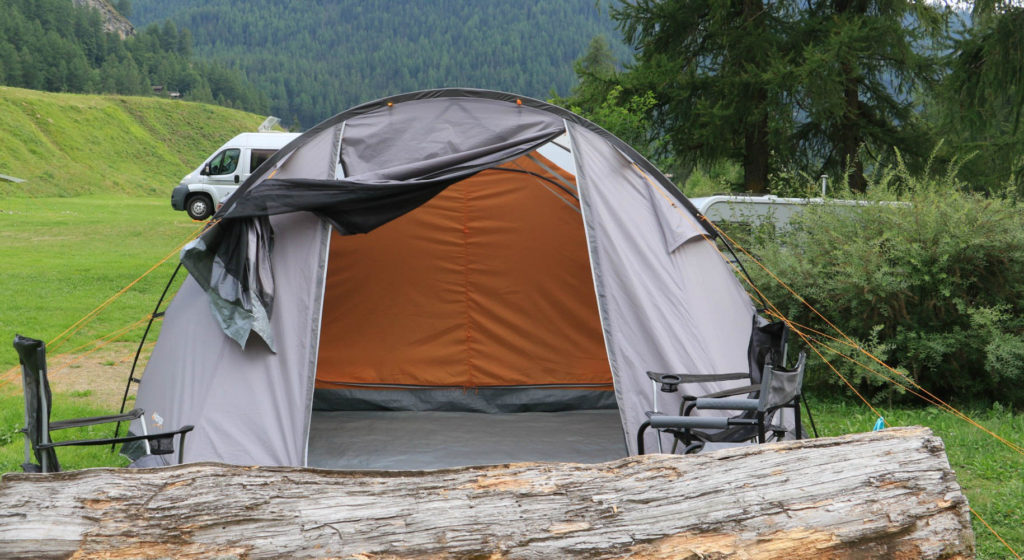
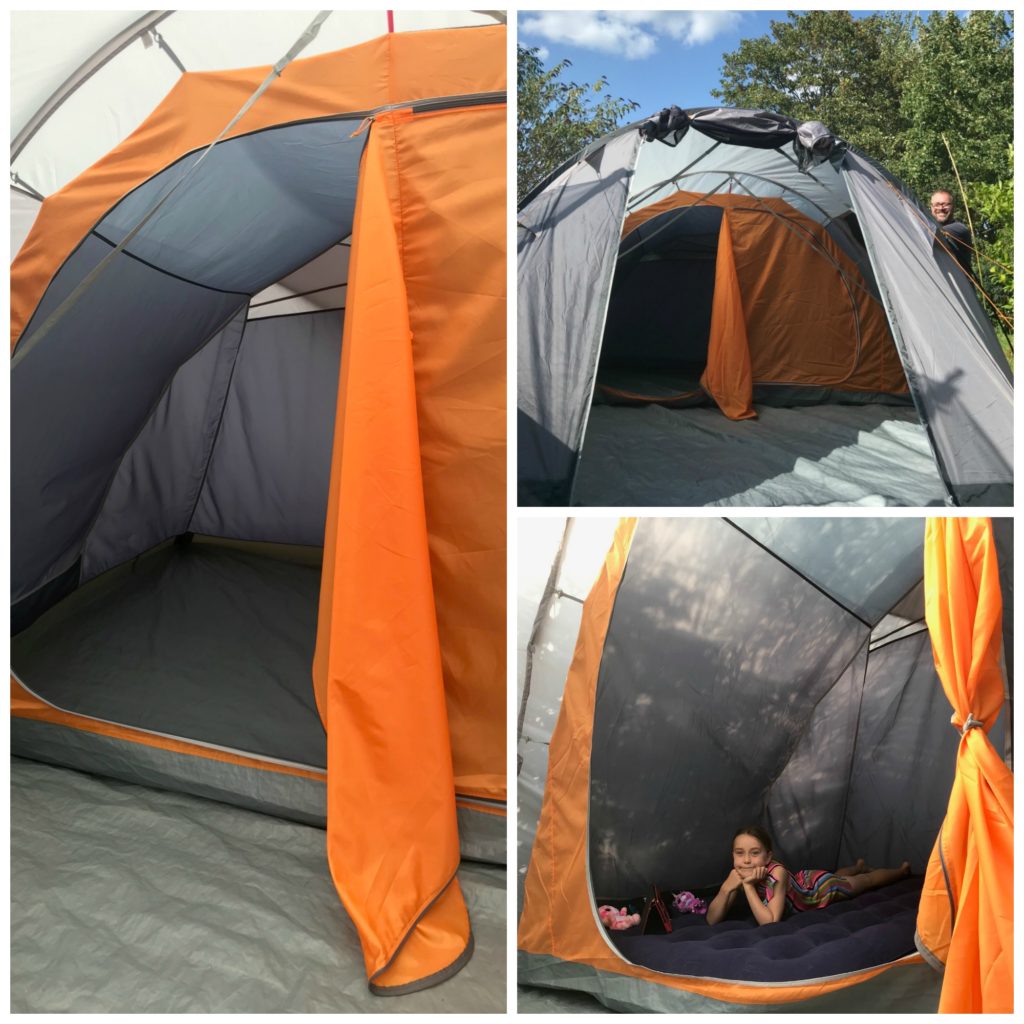
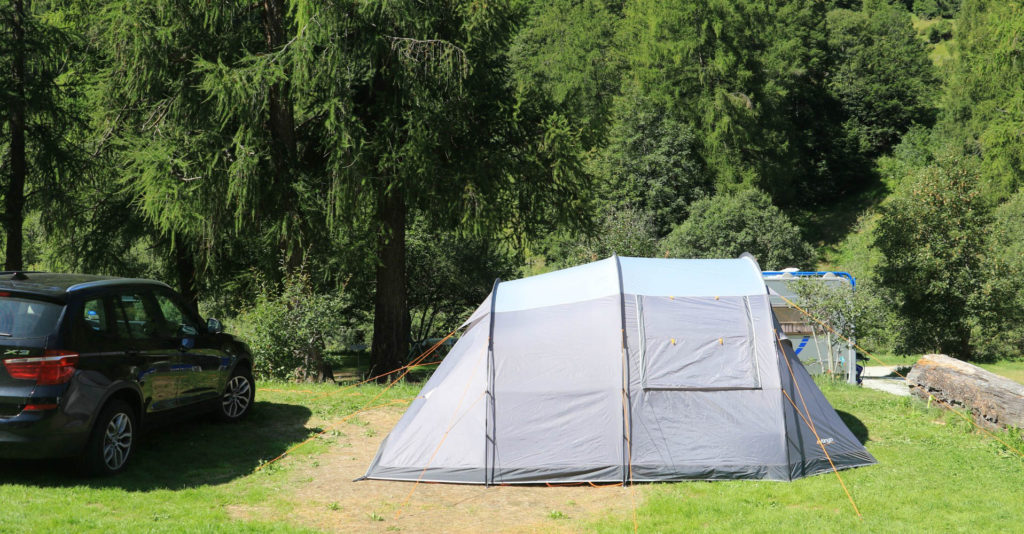
The Winslow 600 has a generous living space, which you can stand up in, and a hard-wearing waterproof groundsheet. We had plenty of room for our kitchen furniture and cookware, utensils, plates, bowls and cups plus food supplies, clothes and three foldable chairs! The tent is light and airy as it has two large clear windows, which have curtains that can be altered for privacy, and a large entrance. The entrance has double zips on both sides and a secondary mesh door for ventilation and keeping the bugs out. Beneath the entrance is a toggled doorstep which can drop to ground level (handy for sweeping) and be toggled up at nighttime. This and the sewn-in groundsheet, made our tent draught free when the temperature dropped (we were in the Alps).
Being blessed with glorious sunshine during the day much of the time we were in Switzerland, we didn’t think we’d need the Vango TBS®II Tension Band System. But we gave it a go as we had a couple of storms at bedtime. These bands are in the living area and designed to brace the central pole in 3 places to stop any sideways movement. We didn’t feel concerned when the rain and wind came so we’ll take it that they did their job (or we didn’t actually need them!). The tent always felt secure so the bands were packed away most of the time. We really like the attention to detail in the tent-like the zipped entry point for our electricity cable (which ran from the hookup outdoors) and the hanging points for lanterns.
Bedrooms
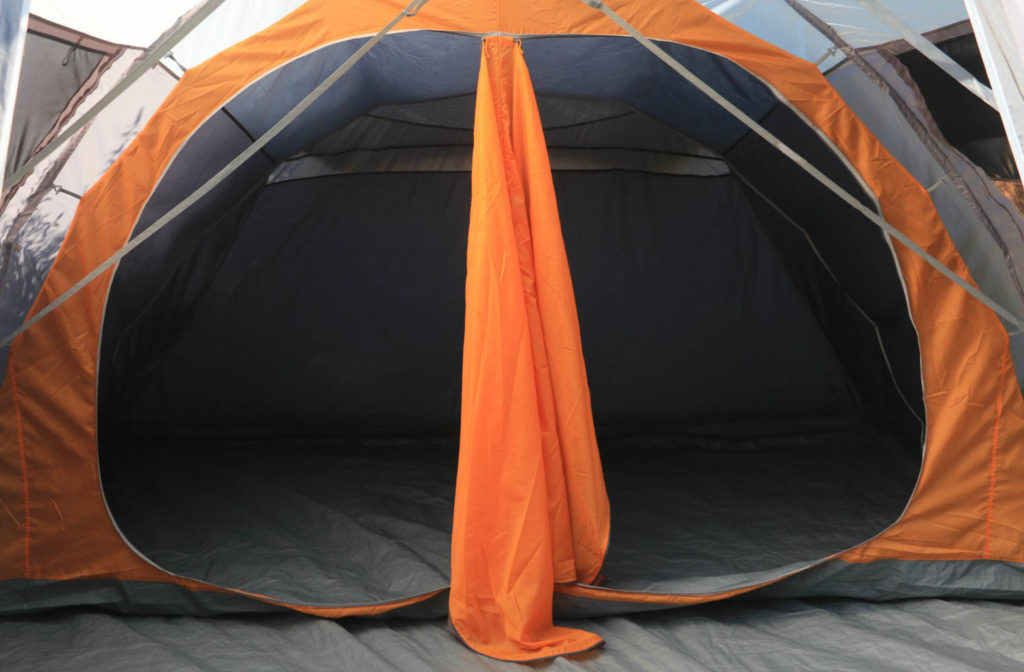
Beyond the living space, the Winslow 600 has two “lights out” bedroom compartments which are separated with a toggled divider. There’s enough room for six people (3 in each bedroom). These bedrooms are an inner tent which meant we had a double groundsheet and waterproof base beneath us. As there were only three of us, and we wanted to be together, we removed bedroom divider so we had one large open space. Between us, we had five airbeds (two old school doubles and a single) plus our sleeping bags, pillows and blankets. We made it into a really cosy area and used the leftover space for POD’s activities, her furry friends (soft toys) and my camera gear. There are four pockets sewn into the side in each bedroom for essentials like a phone, book, keys and a wallet plus that all-important torch!
Pitching the tent
Having never put up a tent before, we decided to have a dry run in the garden before we left the UK. I cannot recommend this enough. It meant we could take our time getting ourselves familiar with the tent, working out how we should pitch it and checking if anything was missing which it wasn’t. Given we were driving from the UK to the Swiss Alps, we didn’t want to be working out what we were doing when we arrived in Switzerland.
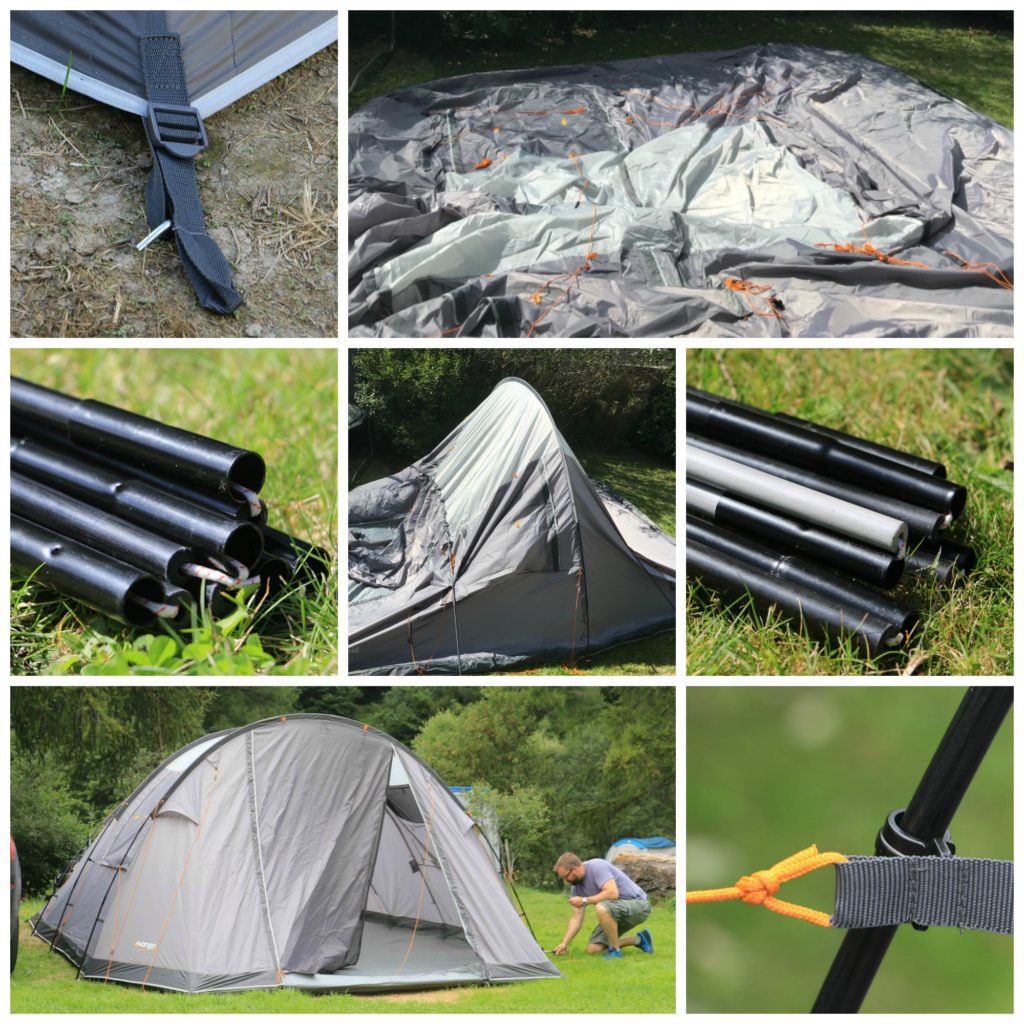
The Vango Winslow 600 comes in an Easypack oversized carry bag which has 15% more material and 50% more volume. This may not sound important but it really is when it comes to packing away your tent after a trip. Included with the tent are 3 PowerFlex® fibreglass poles, enough tent pegs to pitch the tent and a repair kit. The Winslow 600 is really easy to pitch, so much so our guide to putting the tent up and attaching the bedroom compartments comprises of three steps!
Step 1
Lay the tent out on the ground making sure it’s flat, bearing in mind you’ll need space around the tent when it’s up for the guylines (located at the front, back and sides). Once happy with the position, use the tent pegs and a mallet to secure each of the corner “buckles” into the ground.
Step 2
Next pass each of the three poles from one side of the tent to the other. The black poles go at the front and in the middle with the black/grey pole at the back. Once these are in the position, one person can go inside the tent and push up the central pole so it can be bent into an arch by the person. All three poles can then be bent to form the tunnel shape and clipped to the tent. Finally, the remaining tent tabs and the guyropes can be secured to the ground.
Step 3
All that’s left to do then is to get the inner tent secured which forms the bedroom compartment. The corners of this just clip to the inside of the tent with the back and front of the tent toggled to the outer. Super easy!

Settling into camp life
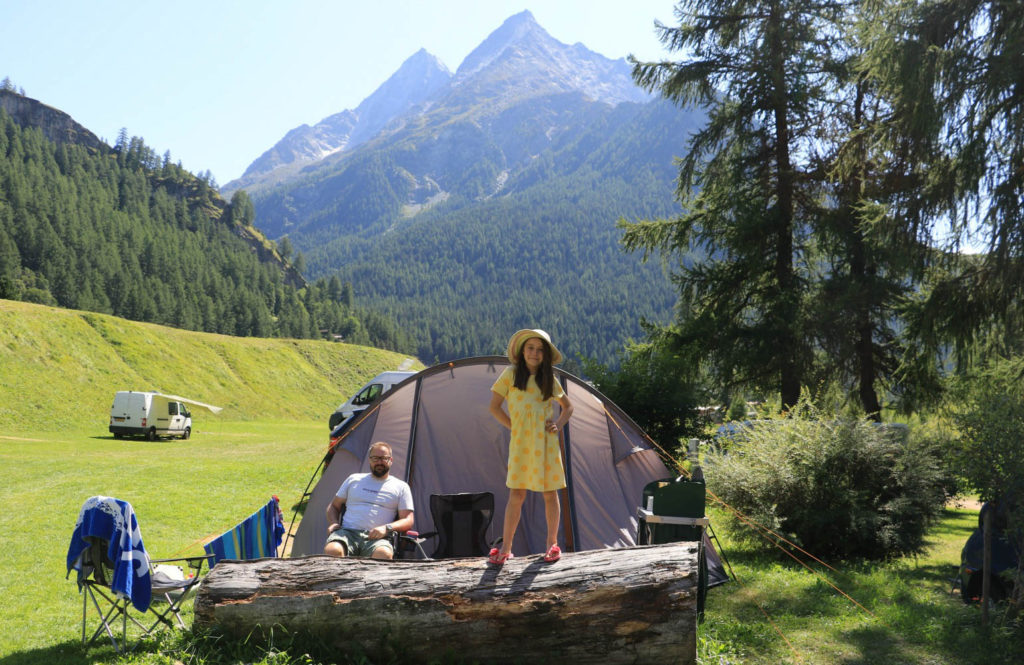
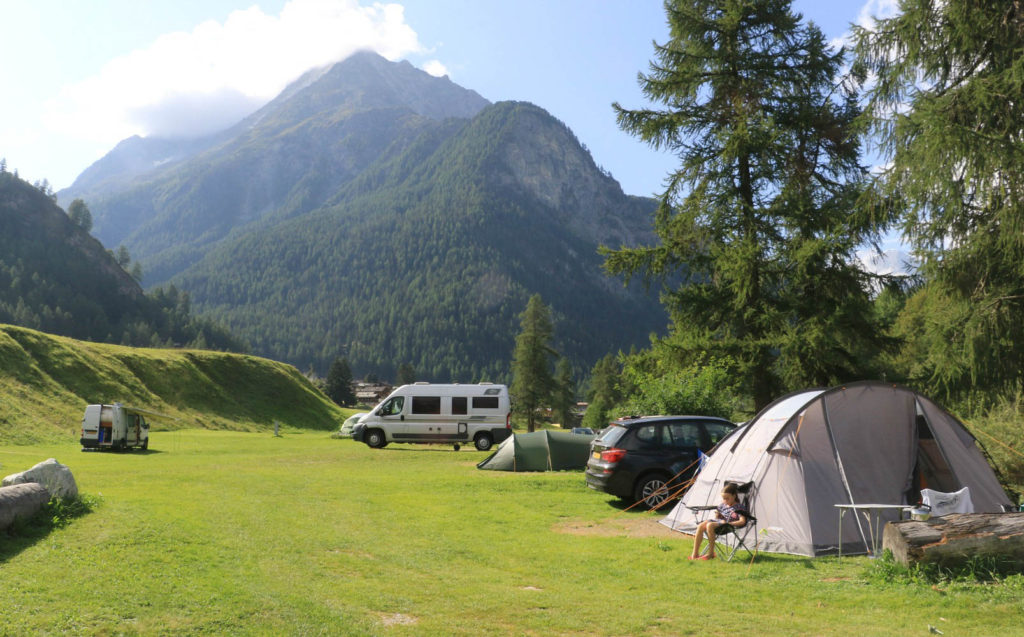
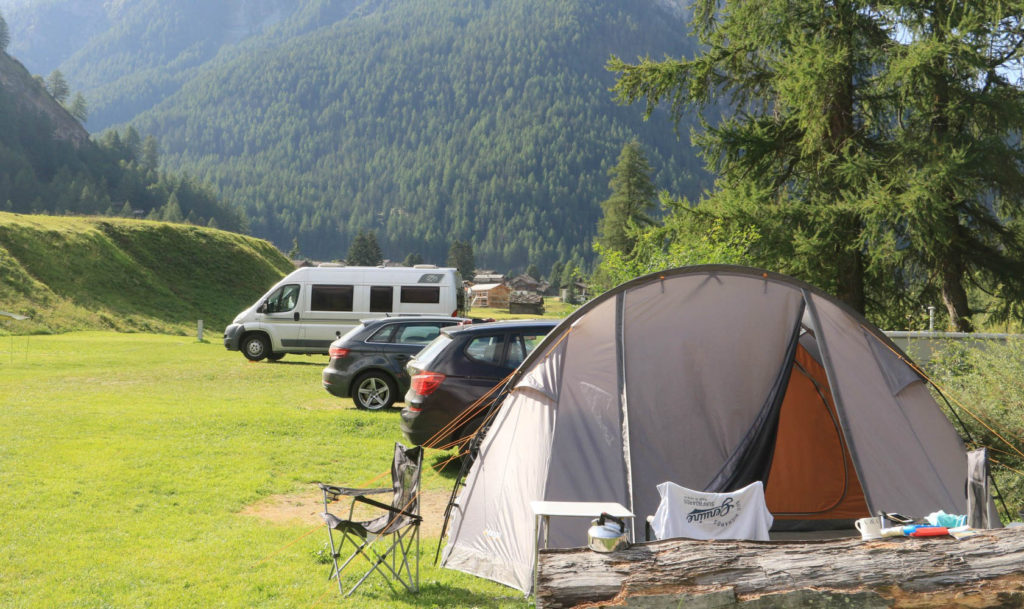
The dry run in the garden was hugely beneficial as we pitched our tent in just 20 minutes when we arrived in Switzerland! Just as well given the drive and the unpacking to do before bedtime. We got ourselves sorted though and enjoyed a wonderful first night under the canvas. The following day we realised our entrance wasn’t pointing in the same direction as the other tents nearby and we’d pitched slightly crooked – rookie error! We decided to re-pitch the tent and it was such a good decision as it was so easy. All we had to do was remove the tent pegs, lift the tent up and re-position it. The tent was then in a much better place with a really lovely eating area outside our entrance and more superb views of nearby mountains.
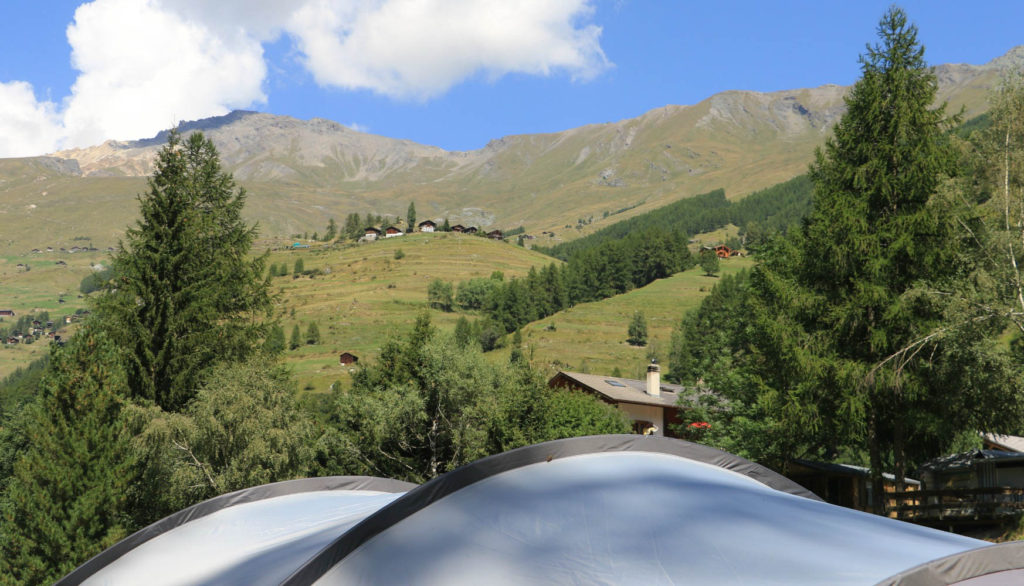
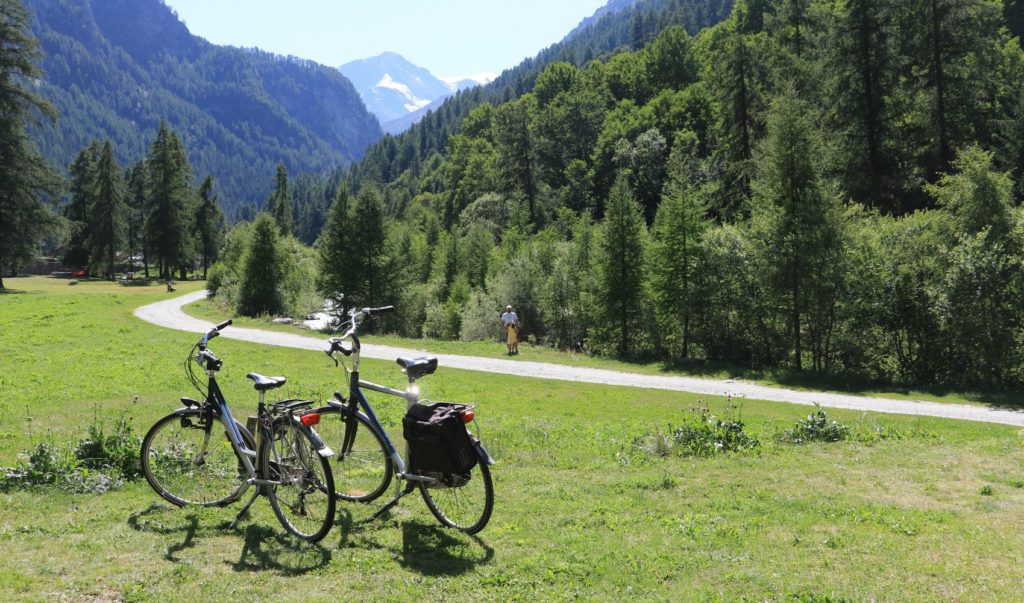
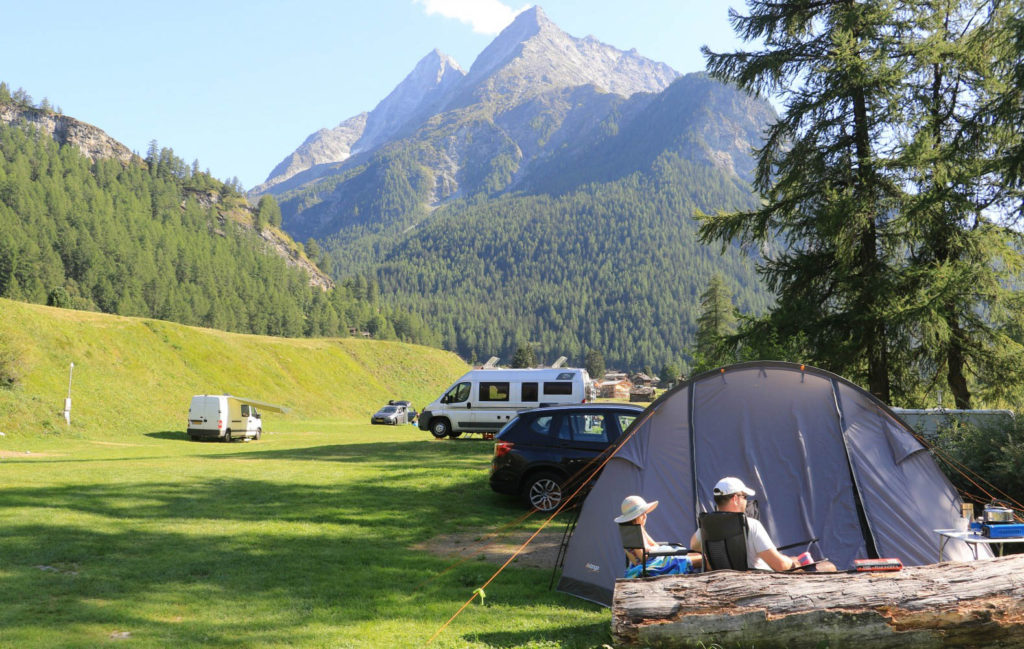
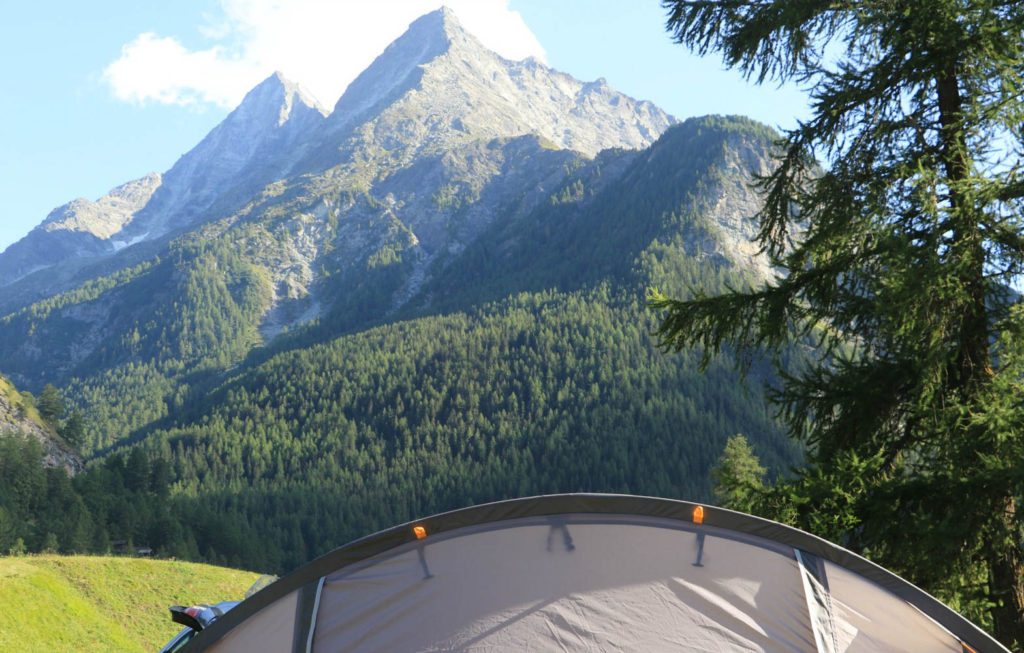
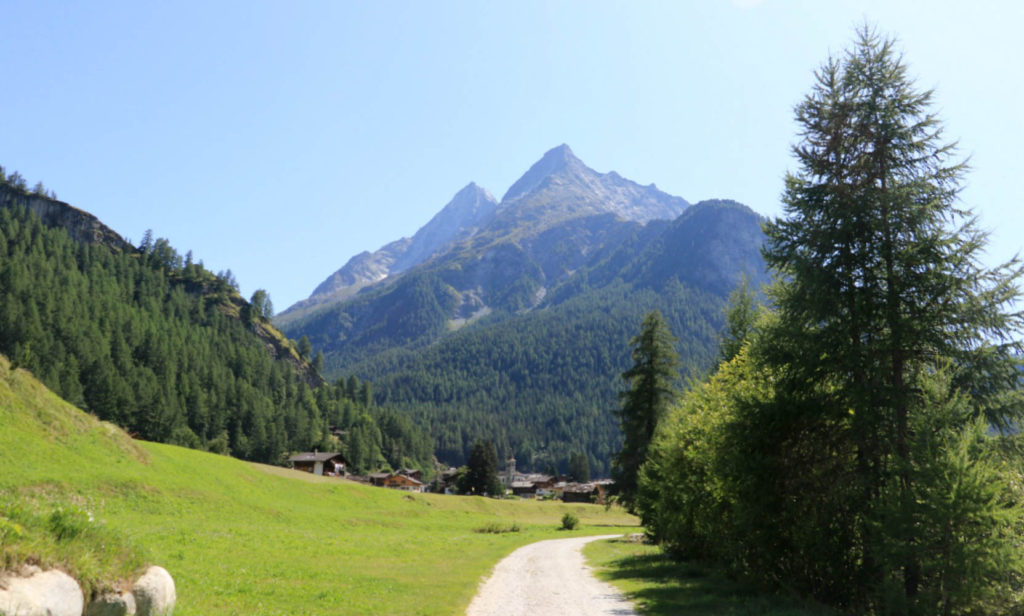
Having not stayed on a campsite in the school summer holidays before we were not sure what to expect. That said, the campsite we were on was excellent. Just a couple of minutes walk to the toilets, showers and washing up facilities and we were surrounded by mountains, a few trees and a river. It was a pretty peaceful setting and we quickly settled into a camping routine.
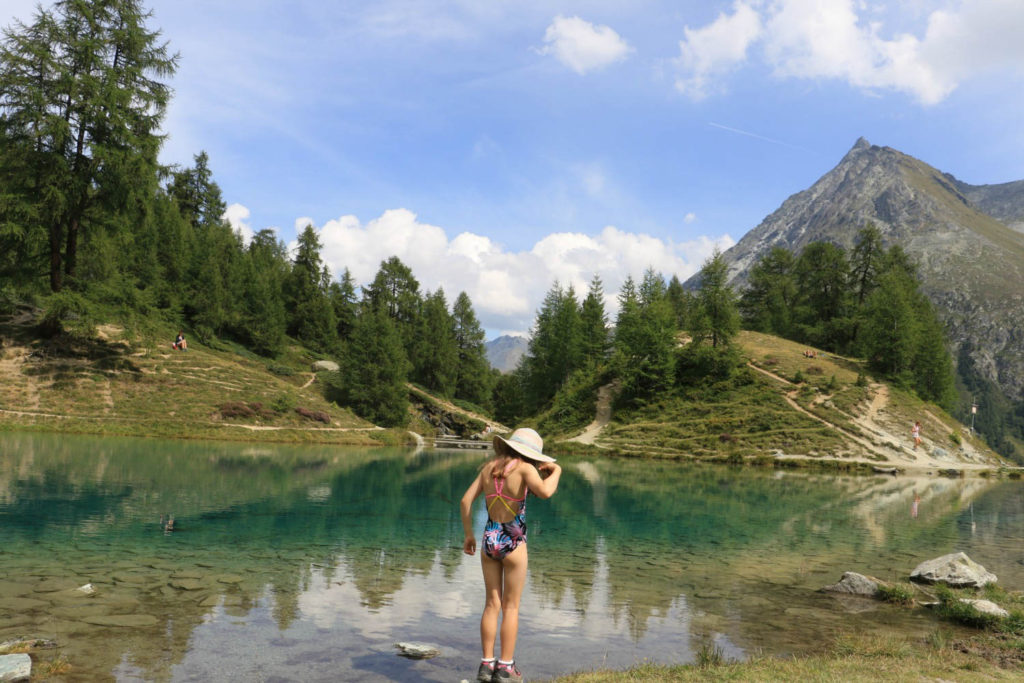
For some reason, we were awake before all the other campers which meant we enjoyed our breakfast while waiting for the sun to work it’s way down the mountain and hit our valley. Then we did the washing up and had showers before heading out hiking, returning either at lunchtime or late afternoon for dinner – POD usually going for a swim in-between. The valley got colder once the sun left the valley so we were normally in our tent quite early for some “quiet time” before going to sleep.

Pitch down and next trip ready
Our time in Switzerland came to an end far too quickly but we loved our tent, the campsite and of course hiking in the mountains. Typically we went on our longest hike on the last day (unintentionally) but we packed what we could that evening and pitch down the following morning was really straightforward. Pitch down is straightforward.
Once the guylines have been taken out of the ground, the poles can be unclipped from the tent and removed one by one. The remaining tent pegs can then be removed. We had to pack up when the tent was wet but with it being so easy to pitch, we put it up in the garden when we were home and repacked it dry. So we’re all ready for our next camping trip!
If you’d like to see more of the Vango Winslow 600 – do have a look at our Instagram Stories Highlights which include pitching the tent in our garden and a tour of the tent’s features. You can also see the Stories from our adventures in Switzerland here.
Disclaimer: We were sent a Vango Winslow 600 for the purpose of this review. Opinions are as always our own. For more information about this tent (and everything you need for camping!) please visit the Vango website.

